Fairly frequently I have others ask me what I do to after I take a photo and before I share it. So maybe it’s time I throw in a post or two about lighting, composition, etc., as well as share a few photo editing techniques. Although I absolutely cherish Photoshop — you simply can’t use it as a substitute for not getting to know your equipment. Bad photos edited in Photoshop are still bad photos.
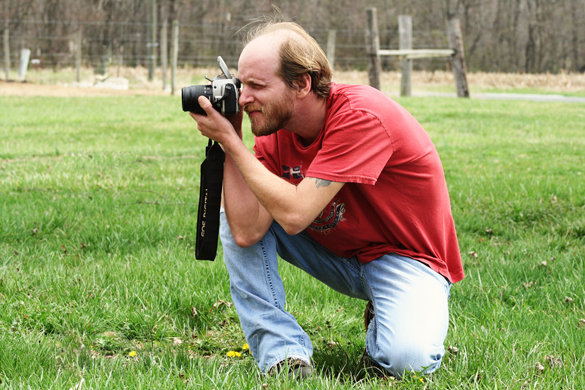
The photo example I chose for this installment was shot on a sunny afternoon, and the exposure and composition are decent. I thought this would be a fairly good example to begin, considering most people care more about photos of people and landscapes than they do about dog pics. Here’s the original photo before any editing…
Even though this model has lost 50% of his hair, (sorry Perry), the object of photo polishing isn’t about changing your subject. We won’t be cloning in hair, or removing wrinkles or even getting rid of a tattoo. I did use the clone and healing brush to remove the leaves above his head that look like antennae, and I removed background garbage, as well as filled in the dead grass spots. I then brightened the image by using a Totally Rad action called ‘Oh Snap’ at 80%.

Next, I applied a slight vignette/blur to the edges, used a warming filter to add a tad more richness to the image, and once again pulled out the healing brush to tame those sparse locks of hair blowing in the breeze.

The process took approximately 3 minutes (not nearly as much time as I spent writing this post), and greatly improved the photo’s appeal.
Ok, FINE! You want hair? You got hair!

