Either you got a new camera from Santa this year or you know someone who did. Probably, it’s your best friend’s 14 year-old and you feel your photos are even starting to look inferior to the images they are sharing on Facebook, Flickr and more. I’m willing to bet the photos you’ve taken are just as good. The problem is remembering when you look at my photos here, or view photos that others share, most likely you’re getting the pick of the litter. When you look through your own photos, you see the whole smear — the good, bad and the ugly.
Today I’m going to share a technique that will totally make your photos stand out, and even help you salvage a few of those quickie shots where the lighting sucked, but you snapped them anyway.
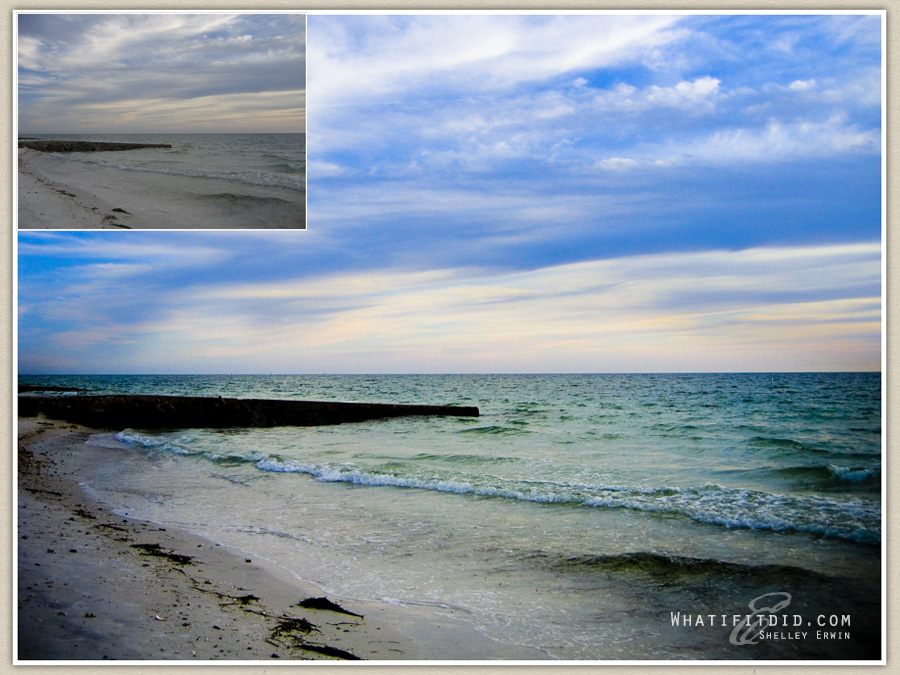
Most all digital cameras allow you to shoot in RAW format (you may need to consult your camera’s little instruction book to choose the option). If you don’t have RAW images, bookmark this page and come back once you’re ready. While normally I would share a small town photo, the first ones I noticed in my directory that needed help are what you get. Since snow is predicted to hit the Ville, I figure warm Florida photos will work nicely.
It’s all about highlights and shadows and depth of field. The only thing you’re going to do in this technique is to process the same RAW file twice – once for the highlights, and once for the shadows. You’ll need an application that allows you to work with layers (like Photoshop).
Here’s what you do:
- 1. Process the RAW file for highlights — make the highlights look good and ignore the dark areas. Save this image with a different name.
- 2. Process the RAW file for shadows — forget all about the highlights and concentrate on the darker areas making them look good.
- 3. Combine the 2 files into one image — reopen the 1st image, and copy and paste it on top of the one you still have open.
- 4. Create a mask on the top image (layer) — in Photoshop, you can find the option under “layers”
- 5. Select a brush large enough to make the process fast, and use the color black.
- 6. Making sure the mask is selected on the top layer, paint over the part of the image you want to disappear (the highlights or the shadows).
- 7. Flatten your image, and pat yourself on the back. That’s all there is to it.

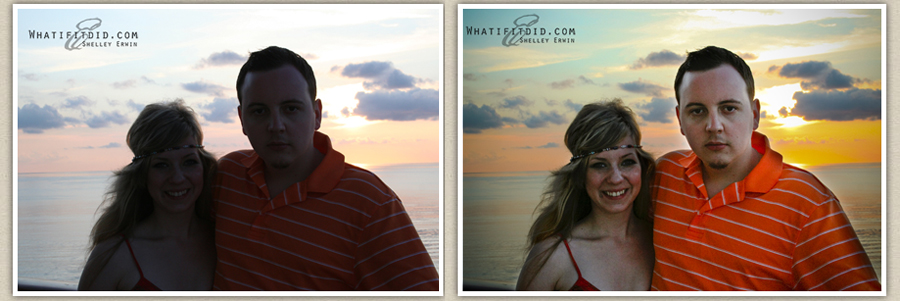
I’m thinking how awesome it would be if we could double process people. You know, take good qualities and make them even better — take the dark side and brighten it up to normal, and then combine it all into one nice, neat, well-rounded and wonderful package. It doesn’t work. ::sigh:: You can; however, use the technique above to “fix” shots where the lighting was way off making your subject (even a person) too dark. While certainly not perfect, and no substitute for a good shot straight from the camera — it’s better than throwing something you want to keep in the trash.


