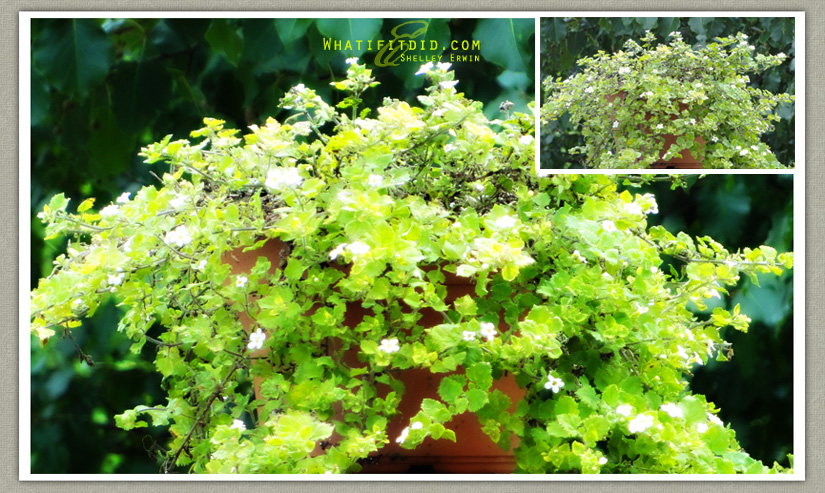
I promised to share how to take an ordinary photo and create a “dreamy look” in Photoshop. (This technique will work in any photography editing program so long as you can create and manipulate layers.) So pick a photo you want to play with, open it up in Photoshop or your favorite photo editing program, and let’s get started!

1. Create a new layer.
2. Stamp visible. (You can do this by holding down the ALT or OPTION key and clicking “MERGE VISIBLE” under the layer tab.)
3. Blur the layer. (Filter > Blur > Gaussian Blur — set at about 25 pixels)
4. Blending change to OVERLAY. (You can find this in your LAYERS PANEL — change from NORMAL to OVERLAY.)
5. Adjust the transparency to suit your dreamy mood and flatten layers.
6. Save and share.
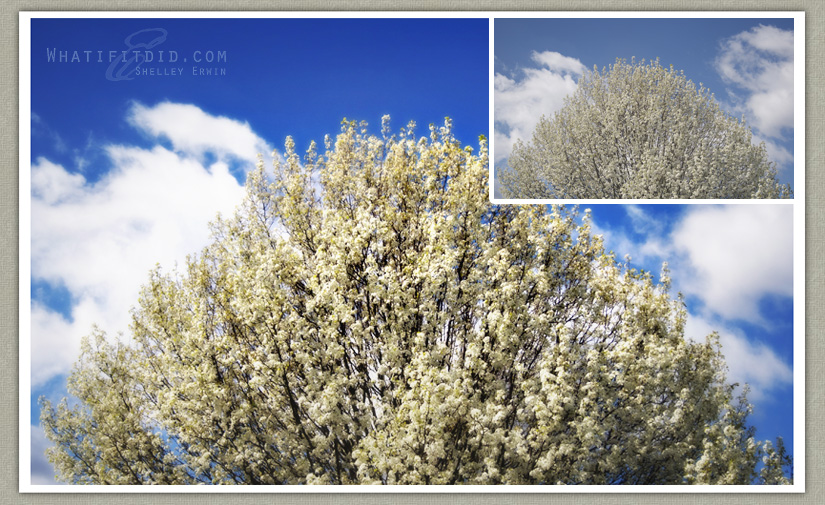
I took the following photo in May, and wanted to share it with you so you can see how much the colors “pop” once your image has been processed with a “dreamy” look. The smaller inset photos in both the photo above and the one below are original, right-out-of-the-box images.

Putting a “dreamy” layer works with photos of people too! You may want to set the transparency to 60-70% so you don’t lose the overall quality. (Original left — modified right.)

Cool, yah? I really hope you have fun with this technique, and please share your thoughts and photos!
And yes, I’m on juror watch in the Casey Anthony trial.
