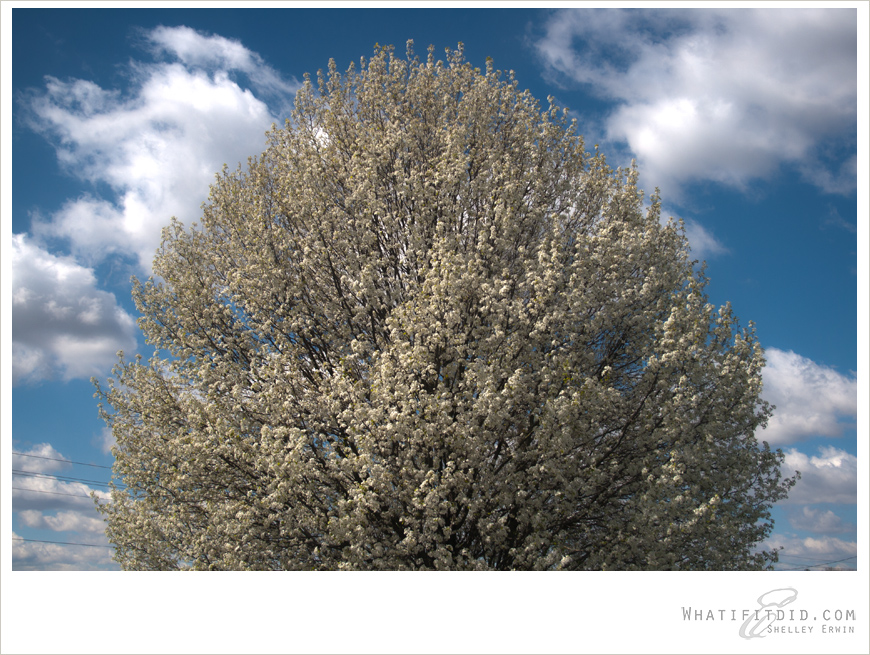
Now that everyone on the planet has at least one digital camera, (and because I haven’t dedicated a post to photography for quite some time now), today’s post is all about how to create a HDR image — and why you might actually want to.
Digital images aren’t as forgiving as our old film cameras were when it comes to exposures right out of the box. And, you’ve probably noticed (especially when you print your photos) that detail may not be as great as you’d like, especially in the highlights and shadows.
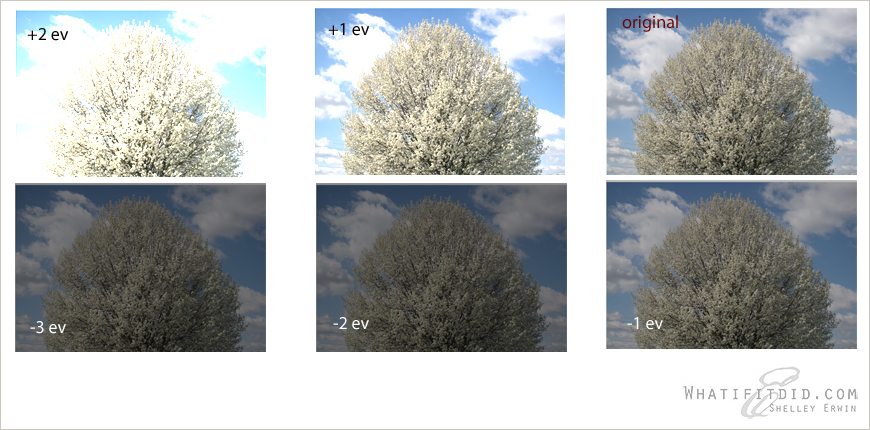
There are many ways to create a high dynamic range image, and I only use the following process on special photos that I may use for print because it’s way too time consuming. The basic idea is that from one RAW file, 5 additional exposures are created and merged into one image with incredible detail.
It really doesn’t matter if you use Lightroom or Aperture or Adobe Bridge (whatever you use to work with RAW files is just fine). You simply create multiple versions of the RAW file with different exposure values. Once you’re ready, you can use Photoshop (or your favorite program) to “merge to HDR” (it’s under the ‘automate’ tab).
There are other ways to accomplish the same thing — like using a tripod to the capture the same image over and over — changing the exposure on each shot. (This would never work with any of my mobile ‘people’ subjects.) But if you’ve never created a HDR image before, at least give it a try! You’ll be surprised at the difference.


