just take two
Real photographers spend a ton of time post-processing photos before showing them to clients while others outsource the chore. Obviously, most everyone who takes pictures — either by phone or with a camera — want to do some post-processing too. I know this because of the vast number of phone apps created specifically for that purpose and because bajillions of people buy them. Why?
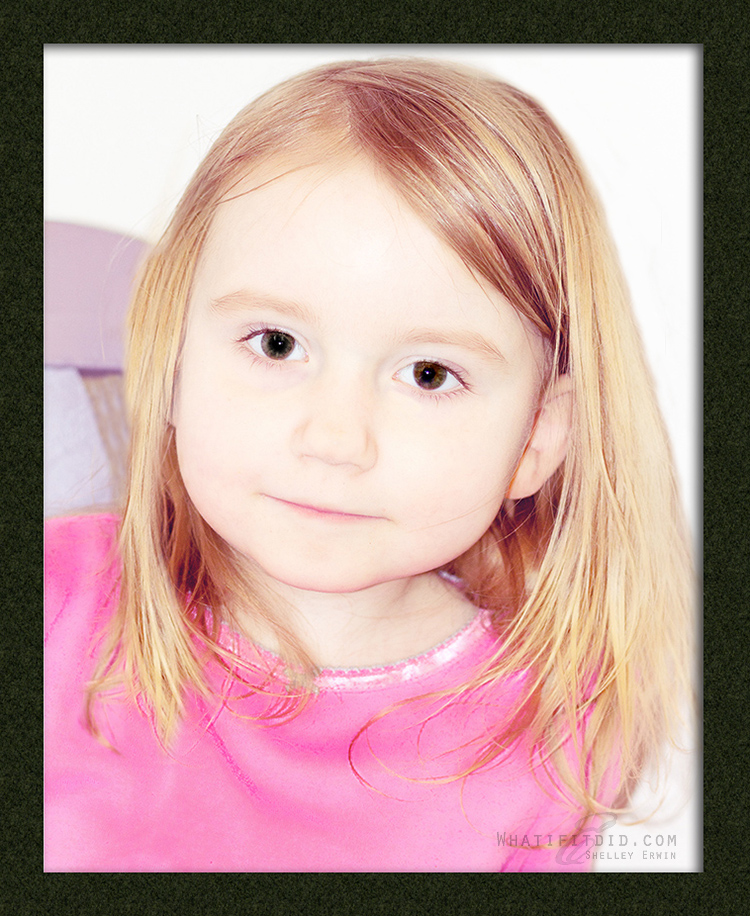
We want the memories we’ve captured to make others feel the way we did that very moment the shutter closed.
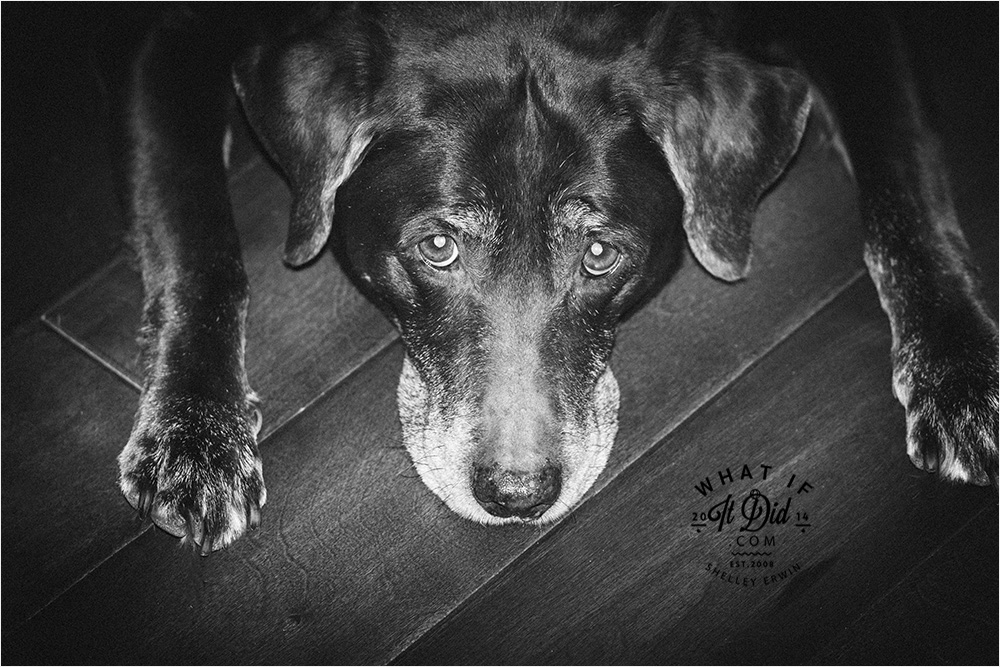
Following are 2 photos taken seconds apart:
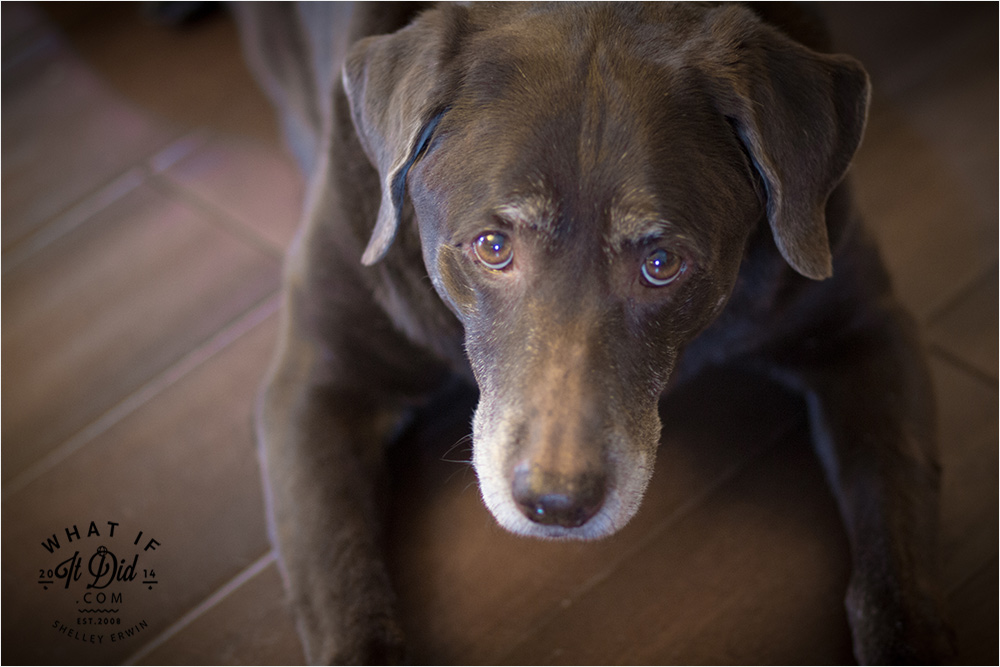
- In the first photo I used the natural light coming from a window and set the camera’s aperture wide open for the lens I was using (1.8 — to effect the blur and depth of field). I wanted to accentuate Libby the Diva’s softer, feminine (heh) side. Post-processing, I simply muted the color just a touch and added a slight vignette.
- To create the second photo I pushed the aperture up allowing everything to be in focus and used almost direct flash. For post-processing, I ripped out all the color, bumped the contrast, and added a stark vignette. It’s definitely a more “artsy” look and the one I personally would choose to frame.
The end result is two dog portraits that look totally different even though both were shot at the same place and the same time — nothing more than my favorite hound dog resting on the kitchen floor. Anytime you’re capturing memories — just take two (like cookies… always take at least two).