I decided to do the dye job project in the office/living room (aka the room with no walls that now has walls), by doing one half at a time. Ok, so it’s not QUITE 1/2 of the room, but there is a break in the concrete that’s close to the halfway point.
I started on the 1/2 where the desks set — and cleaning comes first.
The south end of the room was the emptiest and required the least amount of furniture to be moved. It made sense to start there. First, I swept with a broom, then the vacuum, and finally with a dust mop. Then I steam mopped while vacuuming again.

When concrete isn’t treated, no amount of scrubbing will remove the patterns left where people walk and rugs protect the surface. Although I purchased concrete etching, after reading a bajillion articles and watching DIY YouTube videos, I found most recommend NOT etching before applying dye. I skipped that step altogether. Time will tell if that was a mistake or not.
I rolled the first coat of dye.
I applied the first coat of dye over the entire surface with a roller. It’s not supposed to look perfect — and it certainly didn’t. Sadly, I couldn’t find the long handle for the roller and had to bend over to do this. Not fun and my back is pretty pissed off at me right now. 🙂
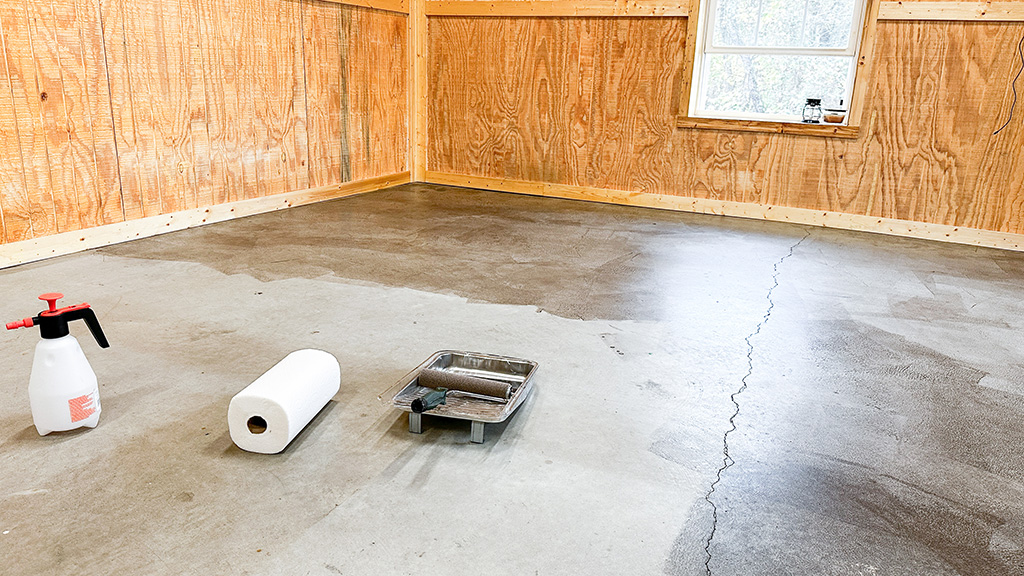
I sprayed the second coat of dye.
I purchased a pump up sprayer (seen above) and filled it with dye for the 2nd coat. Windows open and fans running, it’s still wet in there. The product label said to wait a full 6 hours for it to dry. That means I can do a few touch-ups and let it dry overnight before applying sealer.
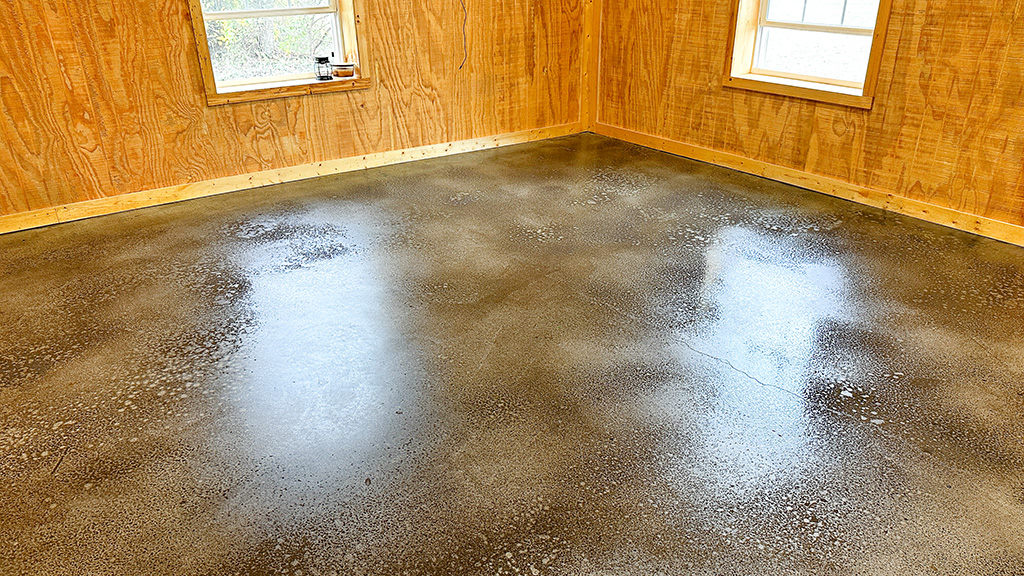
So far, it looks like it’s supposed to.
Feel free to skip a few days visiting here if you’re not interested in this DIY project because this will continue tomorrow.
Now you know: Monkeys not only understand the value of money, but can also budget, differentiate prices and choose between safe or risky earnings.